Portrait Proportions is a creative art mentor that nurtures your child's artistic skills and visual knowledge. From understanding art movements and techniques to getting practical drawing tips and creative inspiration, it gives thoughtful guidance that builds genuine artistic confidence.
Help me understand this topic for my school revision.
👨💻
I'd love to help! Let's break this down into bite-sized pieces.
First, tell me what year group you are in and if you have any homework questions. I will explain it step-by-step with real-world examples, and we can do a quick quiz at the end to make sure it makes perfect sense!
How to use Portrait Proportions
1
Open Applaa and find this tool in AI Assistants.
2
Describe what you're working on, want to learn, or feel inspired to create.
3
Get tailored tips, historical context, technique guidance, and creative prompts.
What you can do with Portrait Proportions
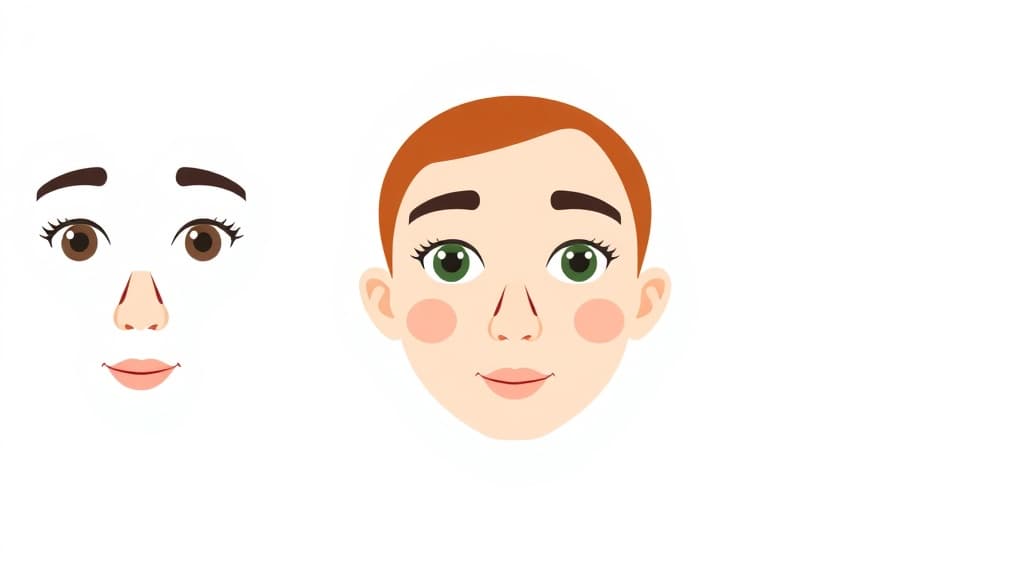
Eyes, Nose, and Mouth placement. Here are some of the most popular ways students use Portrait Proportions every day:
Covers art theory, history, and hands-on techniques
Supports all skill levels from complete beginner to advanced
Ask unlimited follow-up questions — the AI never loses patience or gives up on you
Works alongside any textbook, worksheet, or school resource
Drawing a recognisable face is one of the most rewarding challenges in art, yet it's also where most beginners struggle—eyes in the wrong place, noses too big, chins too small. The secret isn't mysterious talent; it's understanding the proportions and guidelines that professional portraitists, animators, and sculptors use every day. Applaa's Portrait Proportions tool teaches you exactly where features sit on the human head: eyes occupy the middle third of the face (not the top), the nose sits halfway between the eyebrows and the chin, ears align roughly with the eyebrows and lips, and the distance between eyes equals one eye-width. These rules apply across ages, ethnicities, and expressions—once internalised, they become your foundation for creating lifelike, believable faces. For GCSE Art students preparing for portraiture coursework, these proportions are essential. For A-Level Fine Art, mastering proportions allows you to break them intentionally for expressive effect. Applaa provides interactive head grids, step-by-step demonstrations from outline to finished portrait, and practice exercises where you draw over guides to build muscle memory. Your portraits will instantly look more professional and less 'off'.
5
Core proportions that, once mastered, allow you to draw any age, ethnicity, or expression accurately
80%
Of beginner portrait errors stem from incorrect eye placement—Applaa's tool fixes this immediately
Free forever
Interactive portrait grids, demonstrations, and unlimited practice exercises via Applaa
How to use Portrait Proportions effectively
Start by internalising the basic proportions using Applaa's head grid system: the face divides into three equal parts (forehead, nose, chin), the eyes sit at the midpoint, the ears align with the eyebrows and lips. Open the tool and overlay a grid on portrait photographs or artworks you admire, verifying these proportions appear consistently. Next, practice drawing the basic head structure before adding features: sketch a circle (skull), a vertical line down the centre (symmetry guide), and horizontal lines marking eye level, nose base, and chin. Using this framework, sketch eyes, nose, and mouth in their correct positions. The tool includes a live demonstration mode where you watch an artist build a portrait step-by-step, narrating proportion choices. Draw alongside this demo, even if your result looks rough—repetition builds automaticity. Once comfortable with basic proportions, explore how they shift: children's heads are rounder with larger eyes lower on the face, elderly faces have longer chins, and different ethnicities and ages have characteristic proportions worth learning. Finally, practice from reference photos: find a portrait online, lightly sketch the grid proportions, then render the face with realism or your personal style.
Memorise the primary proportions: eyes at midpoint of face, nose base at 2/3 down, ears align with eyebrows and lips
Always sketch a light vertical centre line and horizontal guide lines before placing features; these invisible scaffolds prevent common errors
Use the rule of thirds: divide the face vertically into three equal sections; most faces have pleasingly symmetrical features when this grid is honoured
Remember that the distance between eyes equals approximately one eye-width; this prevents eyes too close together or too far apart
Study how proportions shift with age: children have larger eyes lower on the head; elderly people have longer chins and more pronounced features
Compare your sketch to reference photos regularly; mistakes become obvious when you overlay proportions and can be corrected before rendering details
Common mistakes with Portrait Proportions
The most frequent error is placing eyes too high; beginners intuitively position them in the upper half when they actually sit dead-centre. Another trap is spacing eyes too close together (a common feature in anime-inspired art that breaks realism) or too far apart (which creates an alienated look). The nose is often drawn too large or positioned incorrectly; it should be roughly one-third the height of the face and sit perfectly centred. Many students also draw ears too small or in the wrong position—ears extend from eyebrow to mouth level. Mouths are frequently placed too low or too high relative to the nose. Finally, beginners often ignore asymmetry; real faces aren't perfectly symmetrical, and learning where natural asymmetries exist makes your portraits more lifelike and less robotic.
Stop placing eyes in the upper third of the face; they belong at the absolute midpoint—this single fix improves most beginner portraits instantly
Never guess eye spacing; use the 'one eye-width between eyes' rule consistently to maintain proper proportions
Avoid drawing noses too large; noses are smaller than most beginners assume—check proportions by comparing nose height to eye height
Don't place ears outside the eyebrow-to-lips range; ear positioning errors are instantly noticeable
Resist over-symmetry; introduce subtle asymmetries (one eye slightly larger, one side of mouth higher) for lifelike realism
Never skip the grid/guide stage thinking it's 'less artistic'; guides aren't visible in your final drawing but prevent structural errors that ruin otherwise good work
Getting started
Your 4-Step Portrait Mastery Plan
Step 1
Download Applaa free and study the Portrait Proportions module, learning the five core measurements: eyes at midpoint, nose base at 2/3, ears at eyebrow-to-lips level, eye spacing, and chin depth
Step 2
Draw ten basic head grids (outlines with proportion guidelines) without worrying about details; this develops automatic memory for where features sit
Step 3
Follow along with Applaa's live demonstration videos, sketching a complete portrait step-by-step from grid to finished face, focusing on proportions over realism
Step 4
Draw five portraits from reference photographs: overlay Applaa's grid, rough in features using proportions, and render the completed portrait with your preferred medium
1 month free, then 50% off for 3 months — £4.99/mo
While Other Kids Get an AI Head Start, Is Yours Falling Behind?
Give your child the same AI app-building, exam prep and tutoring edge — free for the first month, no credit card needed.
Join 10,000+ students building their first AI-powered apps with Applaa
Frequently asked questions about Portrait Proportions
Will learning proportions make my portraits look stiff or too mathematical?
No—proportions are the invisible foundation. Once you internalise them, they're applied automatically without visible grids, and your portraits look lifelike and natural, not rigid. Professional artists use these proportions subconsciously. The grid is training wheels; you'll graduate to drawing without visible guides.
Do proportions differ for different ethnicities or ages?
The core proportions (eyes at midpoint, nose placement, ear alignment) are universal, but subtle shifts occur: children have proportionally larger eyes, broader foreheads, and rounder faces; elderly faces have longer chins and more pronounced features; different ethnicities have characteristic eye shapes, nose widths, and face structures. Applaa's tool covers these variations.
Can I break proportions intentionally for stylised or cartoon faces?
Absolutely—but only after mastering realistic proportions. Professional cartoon artists and stylised painters understand realistic proportions deeply and break them deliberately for effect. Breaking them by accident because you don't know the rules looks amateurish; breaking them intentionally looks sophisticated.
Is this relevant to GCSE or A-Level Art?
Very much so. Both GCSE and A-Level specifications expect understanding of figure drawing, proportion, and anatomy. Mastering portrait proportions not only improves your coursework but also demonstrates artistic knowledge that impresses examiners. It's essential for life drawing and portraiture units.