Perspective Drawing Guide is a creative art mentor that nurtures your child's artistic skills and visual knowledge. From understanding art movements and techniques to getting practical drawing tips and creative inspiration, it gives thoughtful guidance that builds genuine artistic confidence.
Help me understand this topic for my school revision.
👨💻
I'd love to help! Let's break this down into bite-sized pieces.
First, tell me what year group you are in and if you have any homework questions. I will explain it step-by-step with real-world examples, and we can do a quick quiz at the end to make sure it makes perfect sense!
How to use Perspective Drawing Guide
1
Open Applaa and find this tool in AI Assistants.
2
Describe what you're working on, want to learn, or feel inspired to create.
3
Get tailored tips, historical context, technique guidance, and creative prompts.
What you can do with Perspective Drawing Guide
1-point and 2-point perspective. Here are some of the most popular ways students use Perspective Drawing Guide every day:
Covers art theory, history, and hands-on techniques
Supports all skill levels from complete beginner to advanced
Ask unlimited follow-up questions — the AI never loses patience or gives up on you
Works alongside any textbook, worksheet, or school resource
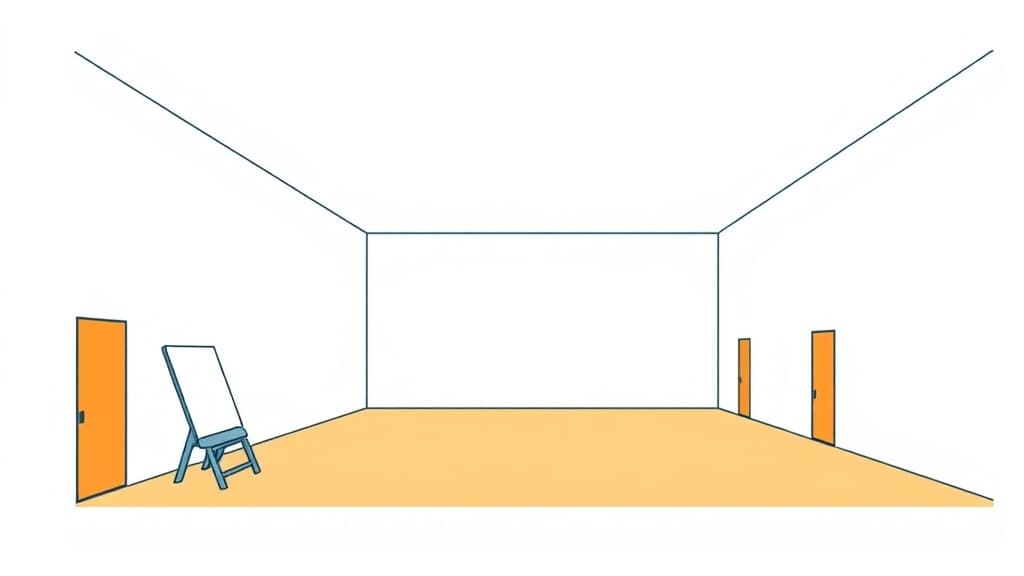
Perspective is the magic trick behind lifelike drawing. When you master how parallel lines converge into the distance, how size and scale shift with depth, and how to construct believable three-dimensional space on a flat page, your drawings transform from flat and childish to convincing and sophisticated. Applaa's Perspective Drawing Guide teaches the two most essential techniques: one-point perspective (where all lines converge to a single vanishing point, perfect for streets, hallways, and railroad tracks) and two-point perspective (where two vanishing points create more realistic angles, used in architecture, product design, and landscapes). These aren't abstract mathematical concepts—they're practical tools that artists, architects, and filmmakers use daily to create depth and drama. Whether you're preparing for GCSE Art and Design, A-Level Graphics, or simply wanting to draw convincing environments and objects, Applaa breaks perspective down into bite-sized lessons with interactive grids, step-by-step demonstrations, and practice exercises. Once you understand perspective, you'll see it everywhere—in photographs, films, paintings, and posters. You'll also never draw a door or room that looks wrong again.
2
Main perspective types taught by Applaa's guide (one-point and two-point)—master these and all other perspectives follow
90%
Of professional artworks use linear perspective techniques to create depth and believability
Free forever
Applaa's Perspective Drawing Guide with interactive demos, grids, and unlimited practice exercises
How to use Perspective Drawing Guide effectively
Start with one-point perspective because it's simpler and the principles transfer directly to two-point. Open Applaa's guide and learn the core concept: imagine a railroad track stretching to the horizon; the rails stay parallel in reality but appear to converge to a single point (the vanishing point) on the horizon line. Draw your horizon line lightly (don't erase—you'll reference it constantly), mark a vanishing point on it, and draw your main object (a box, a room interior) with edges receding toward that point. Use the interactive grid to see exactly how lines should angle. Practice drawing cubes, hallways, and simple buildings in one-point perspective for 20 minutes daily for a week. Once comfortable, progress to two-point perspective: now you have two vanishing points on your horizon, usually off opposite sides of your page, and your objects show two faces (like looking at a building corner). This feels complex initially but becomes intuitive quickly. Use Applaa's step-by-step demos where an artist draws an entire scene in real-time, narrating decisions. Finally, combine perspective with other skills: add light and shadow, accurate details, and your personal style to transform technical perspective into compelling artwork.
Always establish your horizon line and vanishing point(s) before drawing anything else—these invisible guides shape everything
In one-point perspective, place your main object centred on the vanishing point; in two-point, position the object off to one side for more interesting composition
Use a ruler for construction lines initially (architects call these 'guides'); they're meant to be light and erased or painted over
Remember that vertical lines stay vertical in both one-point and two-point; only horizontal lines recede toward vanishing points
Test your perspective by checking that parallel edges in reality converge properly to vanishing points; errors here destabilise the entire drawing
Practice simple objects first (boxes, cubes, cylinders) before tackling complex scenes like cityscapes or interiors
Common mistakes with Perspective Drawing Guide
The most frequent error is placing vanishing points poorly; beginners often put both on-page or too close together, creating awkward, unconvincing angles. Another trap is drawing vertical lines that recede; verticals must stay vertical, not tilt toward vanishing points—this destroys credibility instantly. Students also neglect the horizon line, drawing scenes without a clear reference, resulting in wobbly, unconvincing depth. Many beginners also over-complicate their first attempts by choosing chaotic scenes with dozens of objects; start with a single room or hallway. Finally, students often confuse atmospheric perspective (distant objects are smaller and less detailed) with linear perspective (converging lines); both matter, but they're separate concepts.
Never place both vanishing points on your page; one or both should sit off the edge or at the very corner—this creates believable depth
Keep vertical lines perfectly vertical; only horizontal and depth lines recede to vanishing points
Don't skip the horizon line; it's your reference for where all vanishing points sit and determines the viewer's eye level
Avoid drawing complex scenes while learning; master simple rooms, hallways, and single buildings before tackling crowded cityscapes
Don't ignore scale; if a person is in your scene, ensure doors, windows, and furniture sizes match realistic proportions
Never redraw an entire drawing if perspective is wrong; redraw the guidelines lightly and correct the composition before adding details and shading
Getting started
Your 4-Step Perspective Mastery Plan
Step 1
Download Applaa free and watch the one-point perspective introduction video; draw three simple hallways or rooms using the interactive grid to internalise the concept
Step 2
Complete Applaa's one-point practice exercises (boxes, cylinders, staircases) daily for one week, lightly sketching guidelines and paying attention to how angles converge
Step 3
Progress to two-point perspective using Applaa's guide; draw five buildings, rooms, or objects from different angles, experimenting with vanishing point placement for varied compositions
Step 4
Apply perspective to a finished artwork: choose a scene (street, bedroom, garden) and create a detailed drawing combining correct perspective, lighting, and your personal style
1 month free, then 50% off for 3 months — £4.99/mo
While Other Kids Get an AI Head Start, Is Yours Falling Behind?
Give your child the same AI app-building, exam prep and tutoring edge — free for the first month, no credit card needed.
Join 10,000+ students building their first AI-powered apps with Applaa
Frequently asked questions about Perspective Drawing Guide
What's the difference between one-point and two-point perspective?
One-point perspective has a single vanishing point—use it when you're looking straight down a hallway, along a railroad, or directly at a building's front. Two-point perspective has two vanishing points—use it when viewing a corner, like looking at a building from an angle showing two sides. Two-point feels more realistic for most real-world scenes because you rarely see things perfectly head-on.
Do I need to draw perspective lines for every artwork?
When learning, yes—guidelines are essential. As you gain experience, your eye internalises perspective and you'll sketch more intuitively. Professional artists often skip visible guidelines when confidence is high, but they're still mentally applying the same principles. For GCSE/A-Level work, showing your perspective construction demonstrates understanding.
How does perspective relate to atmospheric perspective?
Linear perspective (converging lines) and atmospheric perspective (distant objects are smaller, hazier, less detailed) work together to create convincing depth. Linear perspective is the 'mathematical' structure; atmospheric perspective adds realism through colour, detail, and focus. Learn both for complete mastery.
Is perspective worth learning if I want to draw stylised or cartoon characters?
Absolutely—even cartoony, stylised art relies on perspective principles. You might exaggerate angles for comedic effect or simplify details, but you're still applying perspective rules. The best cartoonists understand perspective deeply and break it deliberately for effect, rather than ignoring it by accident.