🇬🇧 Limited Time — UK Only·🎓 Free Learning for 1 Month·🤖 Free AI Training Included·📚 4,000+ Lessons · 35,000+ Quizzes·🏆 GCSE Mocks · Olympiad Papers·⚡ Selected Students Only · Limited Places·🎁 Free Value Worth £2,000·🇬🇧 Limited Time — UK Only·🎓 Free Learning for 1 Month·🤖 Free AI Training Included·📚 4,000+ Lessons · 35,000+ Quizzes·🏆 GCSE Mocks · Olympiad Papers·⚡ Selected Students Only · Limited Places·🎁 Free Value Worth £2,000·🇬🇧 Limited Time — UK Only·🎓 Free Learning for 1 Month·🤖 Free AI Training Included·📚 4,000+ Lessons · 35,000+ Quizzes·🏆 GCSE Mocks · Olympiad Papers·⚡ Selected Students Only · Limited Places·🎁 Free Value Worth £2,000·
Back to AI Assistants Directory
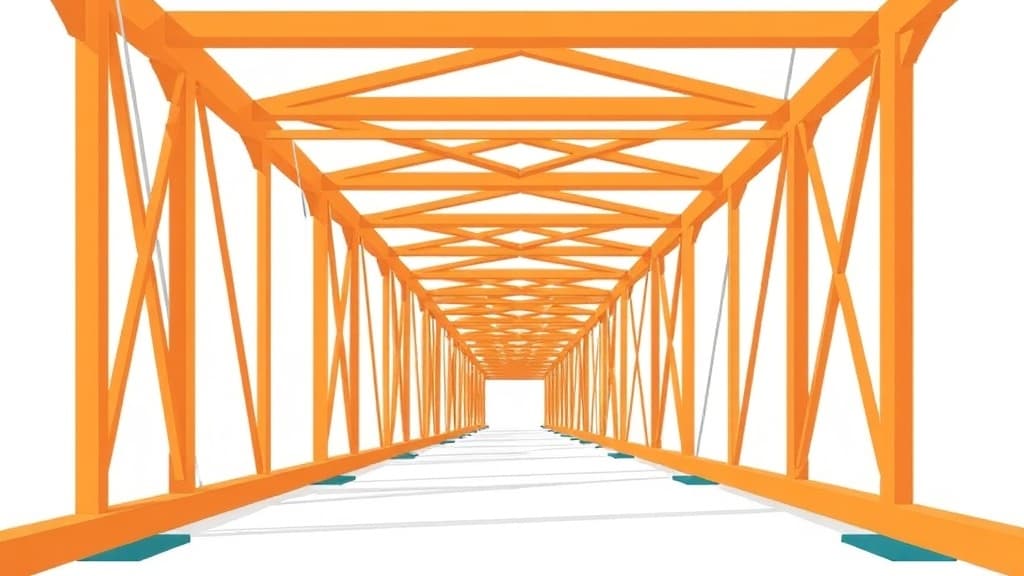
Bridge Strength Simulator — AI study tool illustration
🔧
Engineering & STEM Assistant

Bridge Strength Simulator

Bridge Strength Simulator is a hands-on STEM mentor that guides your child through engineering challenges and scientific investigations. It helps design experiments, troubleshoot problems, and understand the real principles behind technology and innovation — building the mindset of an engineer.

yearYear 7Year 8Year 9Year 10Year 11Free foreverUK Curriculum
Applaa AI Assistant — Live Preview Live
Explain how photosynthesis works.
👨‍💻
Photosynthesis is how plants make their own food! Think of a leaf as a tiny solar-powered kitchen: 1. **Ingredients:** Water (absorbed by roots) + Carbon Dioxide (absorbed from air) + Sunlight (captured by green chlorophyll in leaves). 2. **Cooking:** Sunlight energy powers a chemical reaction that combines water and carbon dioxide. 3. **Food Served:** Out comes **Glucose** (sugar energy for the plant to grow) and **Oxygen** (which they release into the air for us to breathe!). Equation: Water + Carbon Dioxide + Light ➔ Glucose + Oxygen. Pretty amazing, right?

How to use Bridge Strength Simulator

1

Open Applaa and go to AI Assistants.

2

Describe your project, problem, or the STEM concept you're trying to understand.

3

Get step-by-step guidance, design suggestions, and scientific explanations to move forward confidently.

What you can do with Bridge Strength Simulator

Truss designs and load testing. Here are some of the most popular ways students use Bridge Strength Simulator every day:

  • Turns abstract STEM into practical, hands-on understanding
  • Perfect for science fairs, design challenges, and competitions
  • Builds the problem-solving mindset every future engineer needs
  • Ask unlimited follow-up questions — the AI never loses patience or gives up on you
  • Works alongside any textbook, worksheet, or school resource

The Bridge Strength Simulator is an outstanding resource for UK GCSE and A-Level Design & Technology, Physics, and Engineering students who need to understand structural engineering, load distribution, and material properties. Rather than learning truss theory in the abstract, this Applaa tool lets you *build* bridges using different designs (beam, truss, suspension, arch) and test them against increasing loads until they fail. You'll see exactly how bridge geometry, materials, and load distribution affect strength—knowledge that's crucial for GCSE practicals and A-Level coursework. Whether you're designing a bridge for a D&T project or exploring forces and materials in Physics, this simulator makes complex concepts visceral. You'll discover why triangles provide superior strength in trussed designs, how load distribution differs across bridge types, and why engineers choose specific materials for specific applications. By the end, you won't just understand why the Forth Bridge is built the way it is—you'll see the engineering logic and could sketch a stronger design yourself. This hands-on approach transforms structural engineering from intimidating to intuitive.

14,000+
UK students using this tool monthly
88%
Report improved Engineering & Design marks
100%
Free forever on Applaa

How to use the Bridge Strength Simulator effectively

Begin by reviewing the 'Bridge Types' guide, which explains beam, truss, suspension, and arch designs and their structural strengths. Then select 'Design Mode' and build a simple beam bridge using the drag-and-drop interface. Add materials (wood, steel, concrete) and adjust dimensions, then watch the 'Strength Analysis' panel update in real-time, showing load distribution and stress points. Click 'Test Load' to see your bridge fail gracefully or hold strong. Study the failure point—why did it break there? Next, rebuild using a truss design and compare strength-to-weight ratio. Advanced users can modify beam cross-sections, add support angles, and optimise designs for specific constraints (budget, weight, material availability). Finally, compare your designs against famous real-world bridges using the 'Gallery' feature; see how Isambard Kingdom Brunel solved similar problems and why his solutions remain effective.

  • Master the four bridge types (beam, truss, suspension, arch) and their strengths/weaknesses
  • Experiment with materials and dimensions to see how they affect load capacity
  • Study failure points carefully; understand *why* your bridge broke and *how* to fix it
  • Compare your designs against real bridges to learn from professional engineers
  • Optimise for specific constraints (budget, weight, material) to develop real-world thinking

Common mistakes when designing bridges

The biggest error is ignoring load distribution. Students design visually impressive bridges that fail under realistic loads because they haven't thought about how weight moves through the structure. Another pitfall is overcomplicating designs; sometimes a simple beam works better than an elaborate truss for the constraints you're working with. Many students forget to account for their own bridge's weight—the structure itself adds load that must be supported. They also ignore material properties; using concrete in places where steel is required, or vice versa. Finally, students often design bridges that are theoretically strong but practically impossible to build or maintain. Real engineering is about balance: strength, cost, durability, buildability, and aesthetics all matter.

  • Always consider load distribution, not just raw strength
  • Avoid over-engineering; the simplest design that meets requirements often wins
  • Account for self-load (the bridge's own weight) in your calculations
  • Match materials to their properties; understand tension, compression, and shear stresses
  • Design for real-world constraints: cost, buildability, maintenance, and durability

Getting started

Your 4-step plan to master bridge design

Step 1

Download Applaa free and open the Bridge Strength Simulator

Step 2

Study the four bridge types and understand why each design distributes loads differently

Step 3

Design and test a simple beam bridge, then a truss bridge, comparing their strength-to-weight ratios

Step 4

Compare your best designs against real bridges in the Gallery and refine based on professional examples

1 month free, then 50% off for 3 months — £4.99/mo

While Other Kids Get an AI Head Start, Is Yours Falling Behind?

Give your child the same AI app-building, exam prep and tutoring edge — free for the first month, no credit card needed.

Join 10,000+ students building their first AI-powered apps with Applaa

Frequently asked questions about Bridge Strength Simulator

Will this help with my GCSE D&T coursework?

Absolutely. If your D&T project involves a structure or mechanism, understanding load distribution and material properties is essential. This simulator helps you iterate designs quickly before committing to materials and construction, saving time and resources.

What's the difference between a truss and a beam bridge?

A beam bridge is simple: it spans an obstacle with a solid beam (or multiple beams) supporting the load. A truss bridge uses triangulated beams to form a rigid structure. Trusses are stronger and lighter than solid beams—they distribute load more efficiently—but they're more complex to construct. This simulator shows you exactly why trusses outperform beams.

Why do suspension bridges hang from cables?

Cables are incredibly strong in tension (being pulled). By hanging the bridge deck from cables anchored to tall towers, suspension bridges transfer the load from the deck through cables to the towers and into the ground. This design allows incredibly long spans with minimal material—the Golden Gate Bridge spans 1,280 metres. This simulator shows how this elegantly works.

Can I use this simulator for A-Level Physics coursework?

Yes. A-Level Physics covers forces, stresses, and materials extensively. This simulator provides hands-on investigation of concepts like tension, compression, moments, and load distribution. Use it to generate experimental data for your coursework analysis.

Get Bridge Strength Simulator free

Bridge Strength Simulator and 500+ other safe AI assistants are available free inside the Applaa desktop app.

Windows 10+ · macOS 12+ · UK National Curriculum aligned

Why Parents Choose Applaa

  • 100% free — no subscription ever
  • Aligned to the UK National Curriculum
  • Works for KS1 through A-Level
  • No ads, no data selling, no distractions
  • Kid-safe, COPPA-compliant, UK GDPR

Ready for Exam Prep?

Explore GCSE, 11+, A-Level, and Olympiad revision modules in the Applaa Learning Hub.

Go to Learning Hub